
WordPress is a content management system based on PHP and MySQL
that is usually used with the MySQL or MariaDB database servers but can
also use the SQLite database engine. Features include a plugin
architecture and a template system.
Steps for Installing Wordpress:
Before Installing Wordpress you much have C Panel or Wamp Server. I am Installing this with Wamp Server. To know how to Install and Configure of Wamp go here How to Install and Configure Wamp Server
After Installing Wamp Server:
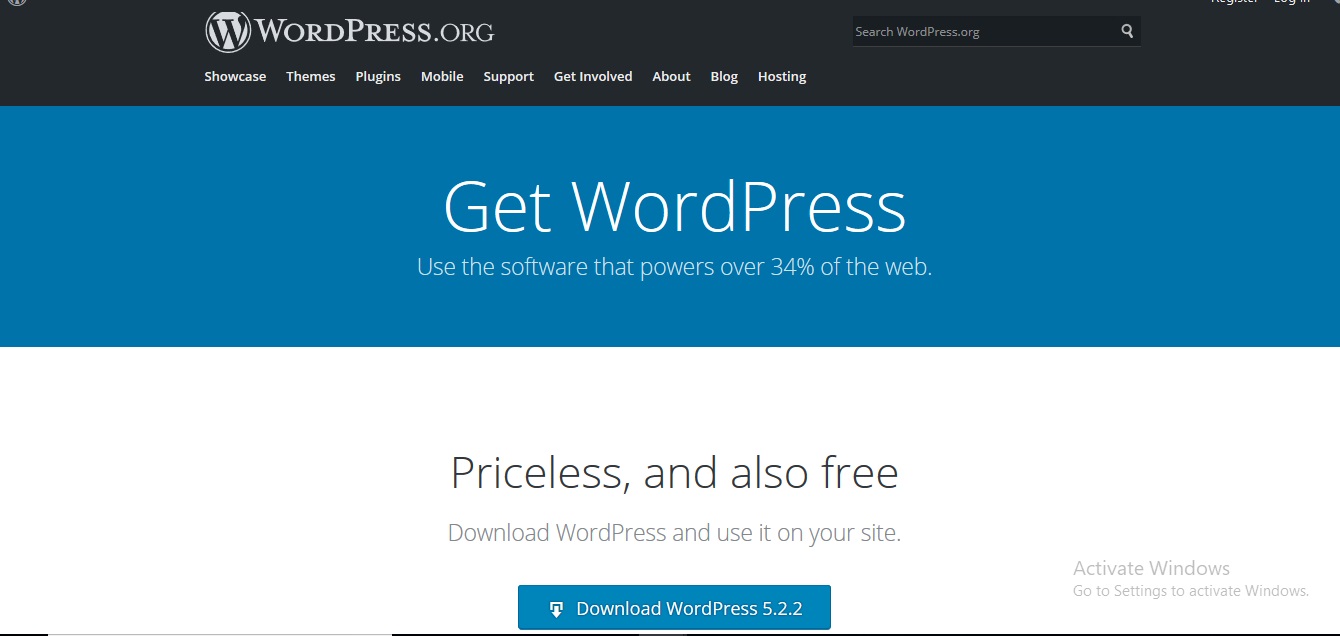
1. Go to www.wordpress.org/download

2. Click on Download Wordpress and Save It.

3. After Saving Wordpress File Extract It and copy it to Wamp Server folder where you Installed it.
C:\wamp64\www
Save the Wordpress folder in www folder.
 4. If you are using Wamp Server open the browser and go to http://localhost/phpmyadmin/

5. Login there default Username is is root with no password.
6. After login click on Databases and create database with the name you want.
 7. Save the database and the go to https://localhost:85/wordpress/wp-login.php

8. Press Let's and Fill the Required Fields and press Submit.
 9. After submitting click on run Installation after that the required information.

 10. Submit you will get below screen.

11. Go to https://localhost:85/wordpress/wp-login.php and fill username and password and press login.
 12. After login you will this Screen.

Steps for Installing Wordpress:
Before Installing Wordpress you much have C Panel or Wamp Server. I am Installing this with Wamp Server. To know how to Install and Configure of Wamp go here How to Install and Configure Wamp Server
After Installing Wamp Server:
1. Go to www.wordpress.org/download
2. Click on Download Wordpress and Save It.

3. After Saving Wordpress File Extract It and copy it to Wamp Server folder where you Installed it.
C:\wamp64\www
Save the Wordpress folder in www folder.


5. Login there default Username is is root with no password.
6. After login click on Databases and create database with the name you want.


8. Press Let's and Fill the Required Fields and press Submit.


11. Go to https://localhost:85/wordpress/wp-login.php and fill username and password and press login.


How to Install and Configure Wordpress in Windows
 Reviewed by
on
August 31, 2019
Rating:
Reviewed by
on
August 31, 2019
Rating:
Reviewed by
on
August 31, 2019
Rating:

